If you’re new to InDesign and don’t know where to start, look no further! Here is the first in a series of several InDesign step-by-step guides to help you get started.
Step: 1
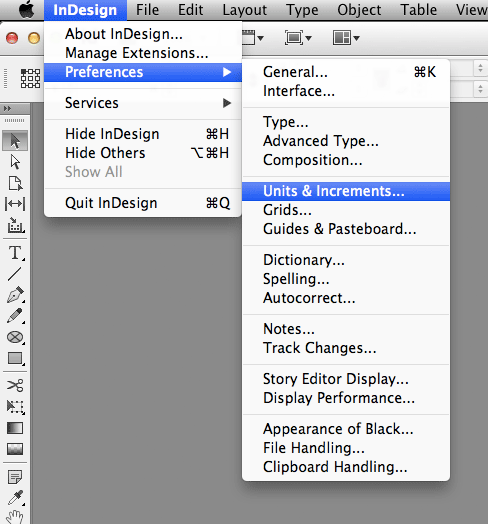
Make sure all InDesign documents are closed and select:
InDesign->Preferences->Units & Increments
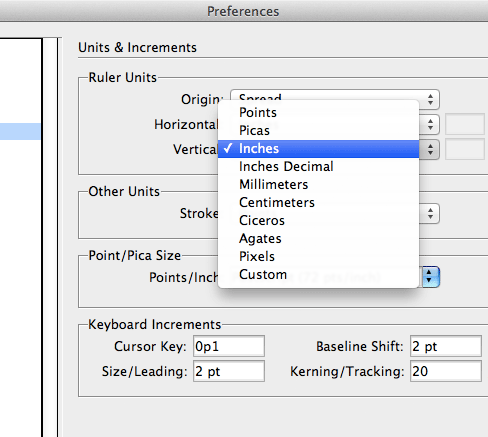
In the preferences window, change the default units from Picas to Inches (most commonly used in the US) or whichever setting you prefer.
Press OK
Step: 2
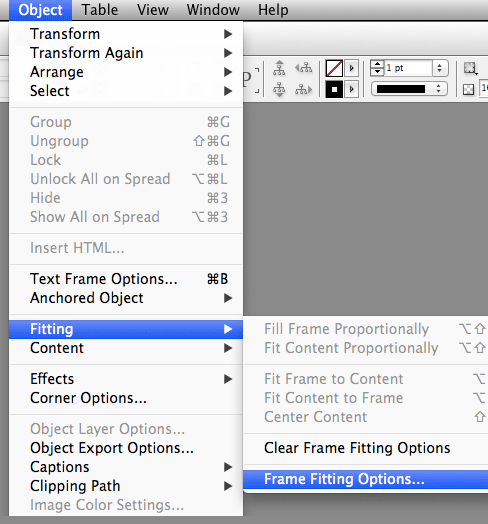
Next, we’ll adjust “Frame Fitting Options” so that the images we drop into our frames will fill out the frame proportionally by default (instead of having to re-size the images all the time). To do that go to:
Object->Fitting->Frame Fitting Options…
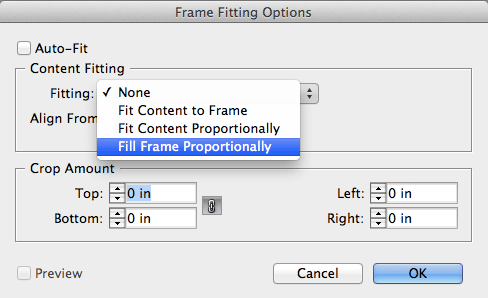
From the “Fitting” drop-down select “Fill Frame Proportionally”
Press OK
Step: 3
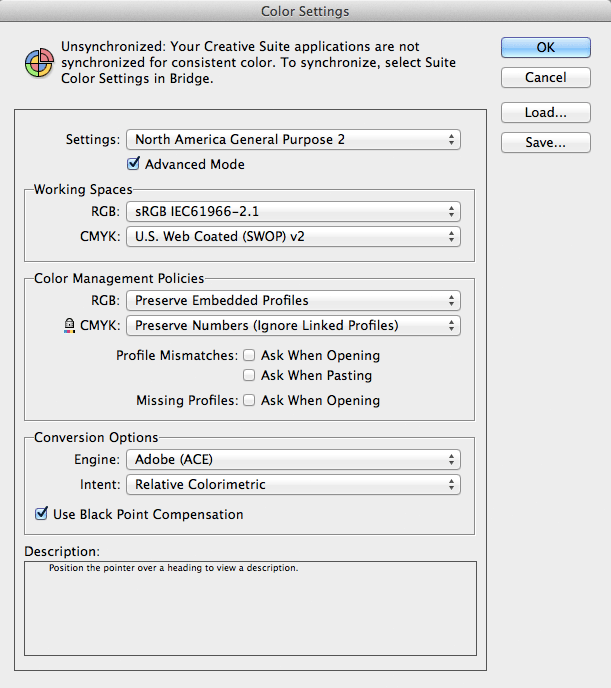
One last step is to check that the color settings are set up the way you want them. We don’t pretend to be color management gurus, so we recommend you check with your favorite lab/printer/etc. for the best option. When it doubt, the default tends to work well. You can also set these settings via Bridge to be synchronized automatically across all your Adobe programs.
Edit->Color Settings
Press OK
Conclusion
That wasn’t too scary was it? In the next article we’ll cover setting up a new, multi-page document. If you’d rather watch a video about using InDesign for wedding album design, check out Khara’s InDesign Video tutorial.