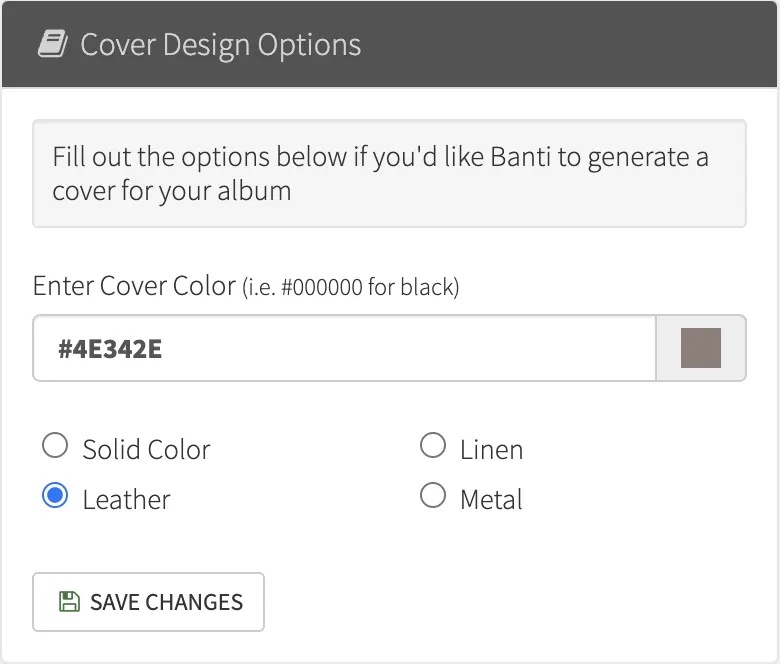
Banti provides an option for you to automatically generate covers of different types, and it’s really easy to do. Here’s a screenshot of what that looks like.

To give Banti a try, claim your free trial today.
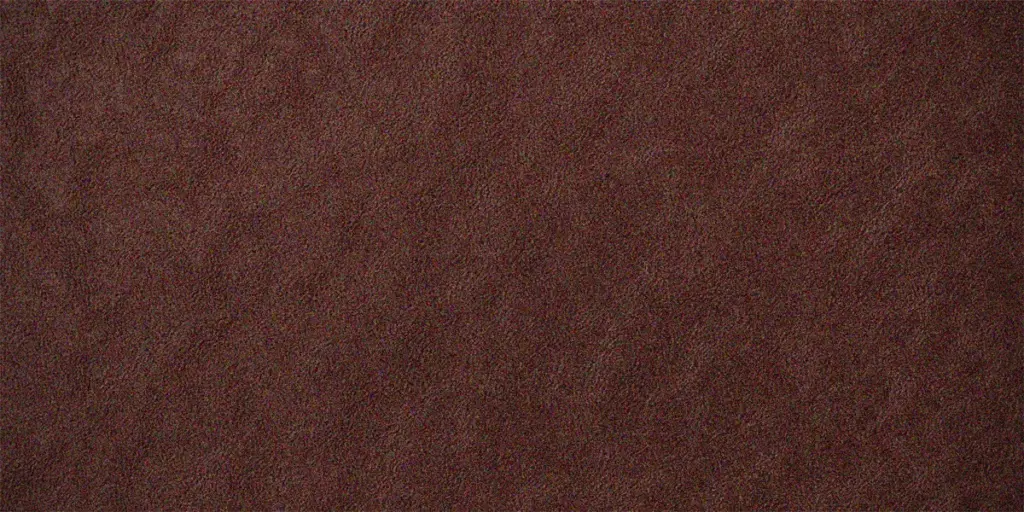
However, if you’d like to have a full control over the look of the texture, and maybe you’d like to add some text to it (i.e. names or dates), you may want to design your own. For your convenience, a PSD download is located below.
Step-by-Step Guide to Create Leather Texture in Photoshop

Step 1: Create a New Document
- Create a New Document:
- Open Photoshop and create a new document:
- Dimensions: 2880×1440 pixels for a 10×10 in album (or your desired size).
- Resolution: 300 PPI.
- Background Color: White.
Step 2: Set the Base Color
- Set the Base Color:
- Fill the background layer with a base leather color (e.g., dark brown, #4E342E).
- Convert the layer to a Smart Object:
- Right-click the layer and select Convert to Smart Object.
Step 3: Add Noise
- Go to Filter > Noise > Add Noise.
- Set the Amount to around 15-20%.
- Use Gaussian and check Monochromatic.
Step 4: Apply Blur
- Go to Filter > Blur > Gaussian Blur.
- Set the radius to around 2-3 pixels to soften the noise.
Step 5: Create a Wrinkled Leather Look
- Add a new layer and convert it to a Smart Object
- Go to Filter > Render > Clouds on the new layer.
- Use Filter > Distort > Glass:
- Adjust Distortion, Smoothness, and Scaling to mimic wrinkles (e.g., Distortion: 10, Smoothness: 3).
- Set the texture option to Frosted
- Use Filter > Distort > Glass:
- Set this layer’s blending mode to Overlay or Soft Light and reduce opacity as needed.
Step 6: Enhance the Texture
- Use Filter > Sketch > Bas Relief on the cloud-textured layer:
- Adjust the Detail to ~12 and Smoothness to ~3 sliders to create subtle bumps.
- Set light to Top Left
- Apply Filter > Blur > Gaussian Blur again (Radius: ~1-2 pixels) to smooth transitions.
Step 7: Add Fine Grain
- Create a new layer and fill it with gray (#454545).
- Convert the new layer to a Smart Object
- Add Noise (around 5% Gaussian and Monochromatic).
- Set this layer to Overlay or Soft Light.
Step 8: Adjust Highlights and Shadows
- Add a new layer filled with 50% gray and set it to Overlay.
- Use the Burn Tool (shadows) and Dodge Tool (highlights) to add subtle depth.
Step 9: Finishing Touch
- Select all layers and convert them to a Smart Object
- Use Filter > Texture > Grain on it:
- Set Intensity to around 20 and Contrast to around 50.
- Add a vignette using Filter > Lens Correction > Custom and darken the edges.
Step 10: Color Enhancements
- Use Hue/Saturation or Color Balance to fine-tune the richness of the leather’s color.
Step 11: Export
- Save your work as a high-resolution JPG, PNG, or TIFF.
Notes
- Using Smart Objects ensures that you can adjust filters, blending modes, and effects at any time.
- Experiment with Motion Blur, Gradient Maps, and Bevel & Emboss to achieve different types of metal textures (e.g., polished, brushed, or rough).
This approach keeps your work flexible, allowing for easy edits and customization.
Download a sample PSD file of the leather texture

