The Banti Album Proofing interface is as simple and clean as it is intuitive. But don't take our word for it. Scroll down to take a quick tour.
1. Upload Your Album
2. Get Client Comments
3. Edit and Approve
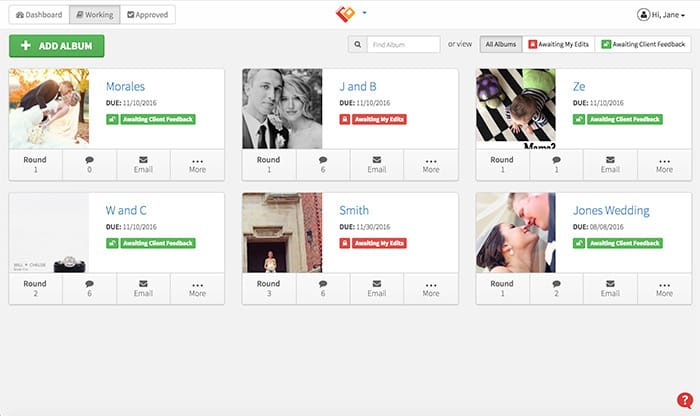
Once you're logged in, Banti's home screen lists your albums in an easy to scan grid view.
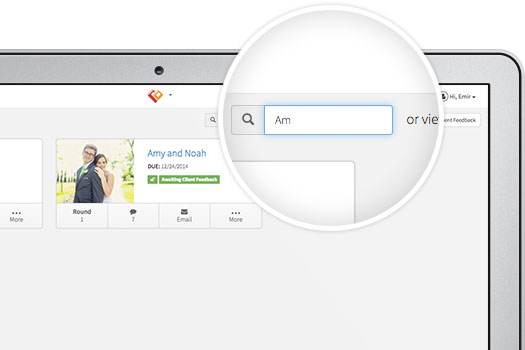
To search for a particular album simply type in the album name, date created, or client email address.
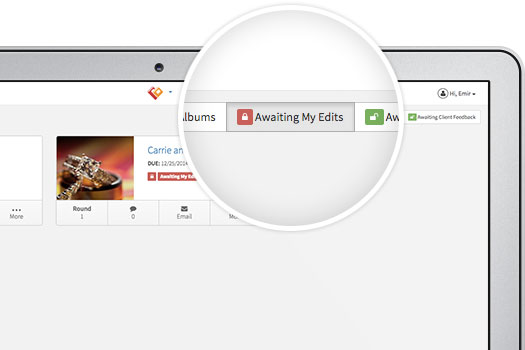
You can easily filter albums based on where they are in the process by selecting "Awaiting My Edits," "Awaiting Client Feedback," or "All Albums."
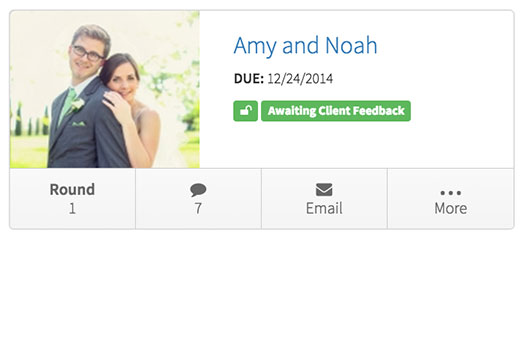
Keep an eye on the due date, sneak a peek at the number of comments, send a quick email—and more—all from one place.
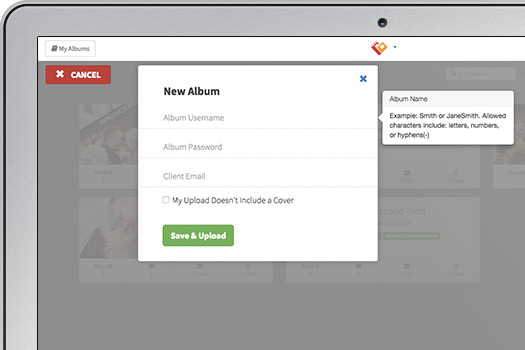
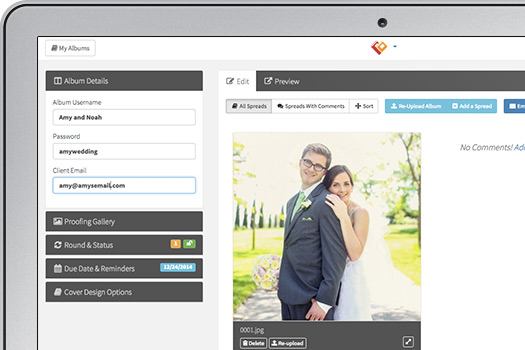
To add an album, first give it a name, password, and email—then upload your spreads.
Once an album is uploaded, managing the details is never more than one click away.
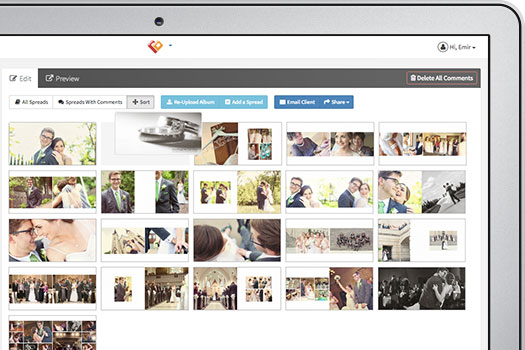
Spreads are sorted by filename by default, or you can drag-and-drop to manually re-sort.
Admire your work in a beautiful flip book presentation.
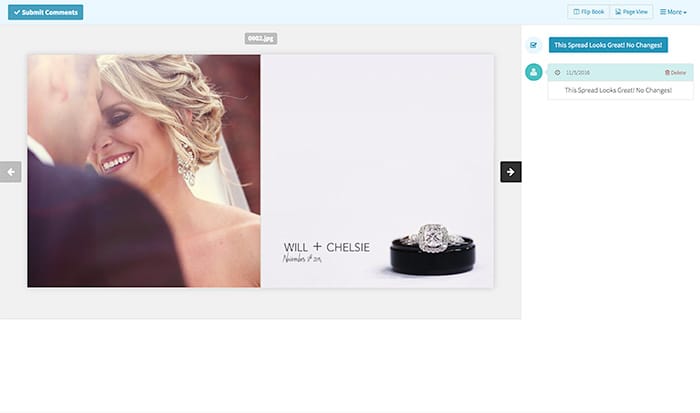
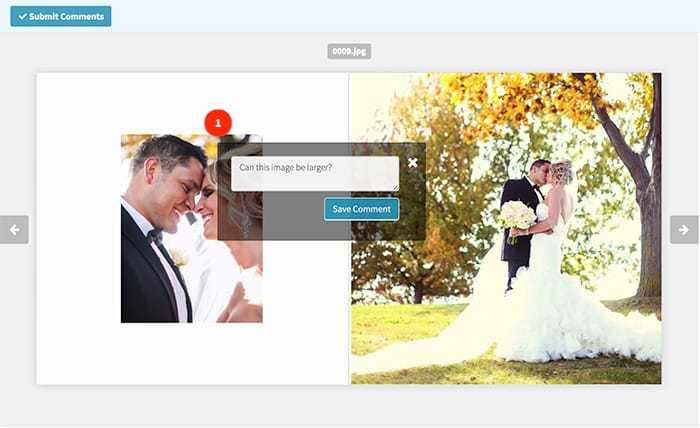
Your clients can click on individual images to tag them with comments—making clear communication easier than ever.
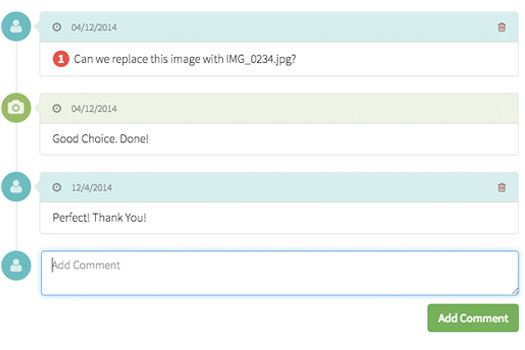
Comments can also be applied to each spread as a whole.
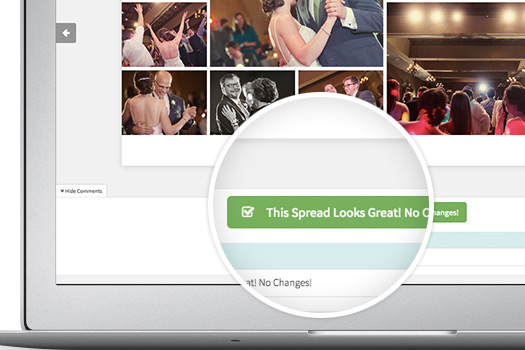
Spreads can be given a quick thumbs up with just one click.
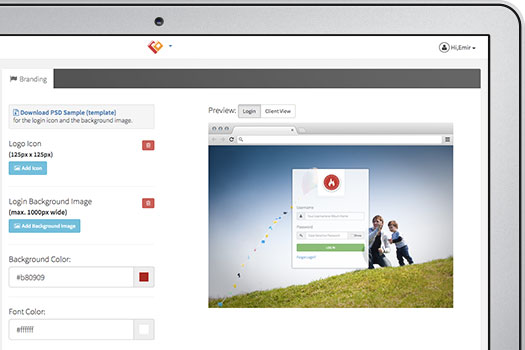
Specify your own background images and colors to make Banti your own.
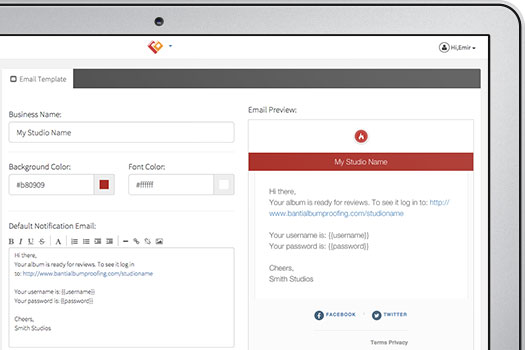
It's not only the looks that define your brand. It's also your voice. Customize the email messages you send clients directly from Banti.
Beyond Banti's web interface, you can integrate it within your own website using Banti's Wordpress plugin or a few simple lines of HTML. For complete brand control, you can use your own domain, so it looks like the album is proofed on your website instead of ours.
Register today and get some awesome FREE album templates!