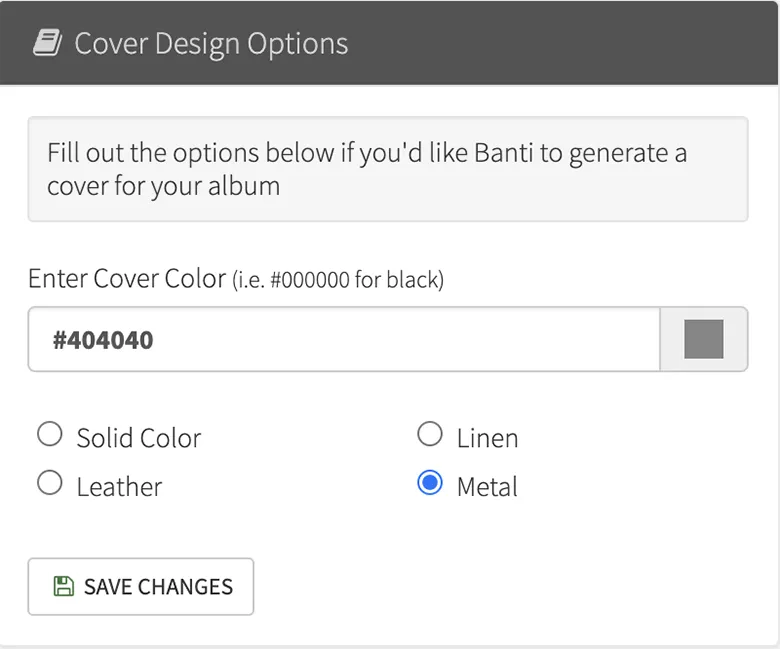
Banti provides an option for you to automatically generate covers of different types, and it’s really easy to do. Here’s a screenshot of what that looks like.

To give it a try, sign up for a free Banti Album Proofing account.
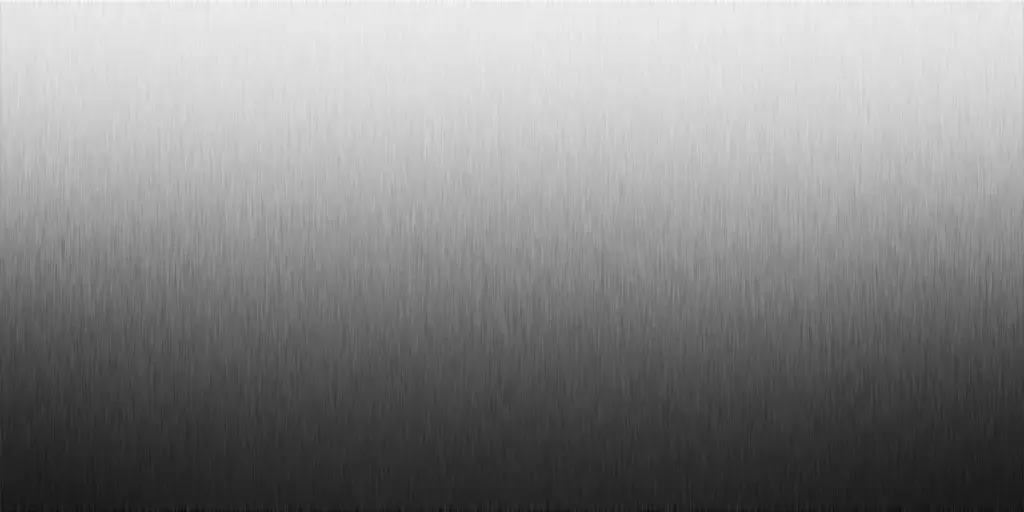
If you’d like to have a full control over the look of the texture, and maybe you’d like to add some text to them (i.e. names or dates), this tutorial will guide you through creating a polished or brushed metal texture in Photoshop while incorporating Smart Objects for a non-destructive workflow.
Step-by-Step Guide to Creating a Metal Texture in Photoshop

Step 1: Create a New Document
- Open Photoshop and create a new document:
- Dimensions: 2880×1440 pixels for a 10×10 in album (or your desired size).
- Resolution: 300 PPI.
- Background Color: White.
Step 2: Base Gradient
- Add a Gradient Fill:
- Go to Layer > New Fill Layer > Gradient and click OK.
- Set the gradient to Linear and colors from dark gray (#404040) to light gray (#C0C0C0).
- Angle: 90 degrees.
- Click OK.
- Convert the Gradient Fill Layer to a Smart Object:
- Right-click the layer and select Convert to Smart Object.
Step 3: Add Noise for Texture
- Duplicate the Smart Object:
- Right-click the layer and select Duplicate Layer.
- Add Noise:
- With the duplicated layer selected, go to Filter > Noise > Add Noise.
- Amount: 25%.
- Distribution: Gaussian, check Monochromatic.
- Apply Gaussian Blur:
- Go to Filter > Blur > Gaussian Blur and set the Radius to 2 pixels.
Step 4: Add Brushed Effect
- Add Motion Blur:
- Go to Filter > Blur > Motion Blur.
- Angle: 90 degrees (use 0 for horizontal).
- Distance: 50 pixels.
- Adjust Layer Blending:
- Set the layer’s Blending Mode to Overlay.
- Group the Layers:
- Select both layers, right-click, and choose New Group From Layers, or press Command+G (Mac) or Control+G (PC)
- Convert the group to a Smart Object.
Step 5: Enhance the Metal Texture
- Add Highlights and Shadows:
- Create a new layer above the Smart Object.
- Use the Brush Tool with a soft round brush (low opacity) to paint white (highlights) and black (shadows) areas.
- Convert this layer to a Smart Object and set its blending mode to Soft Light.
- Add a Subtle Bevel:
- Select the metal Smart Object layer.
- Go to Layer > Layer Style > Bevel & Emboss:
- Style: Inner Bevel.
- Depth: 100%.
- Size: 5 px.
- Soften: 2 px.
Step 6: Final Polishing
- Add a Gradient Map:
- Go to Layer > New Adjustment Layer > Gradient Map.
- Choose a gradient from black to white or metallic tones for more realism.
- Set the layer blend mode to Soft Light
- Add a Subtle Vignette:
- Create a new layer and fill it with white.
- Right-click the layer and select Convert to Smart Object
- Apply Filter > Lens Correction > Custom, adjust the vignette amount to -100, midpoint to +25, and set the layer to Soft Light with reduced opacity.
Step 7: Save Your Work
- Save your project as a PSD to retain the Smart Objects.
- Export the metal texture as a PNG or JPEG for use in other projects.
Notes:
- Using Smart Objects ensures that you can adjust filters, blending modes, and effects at any time.
- Experiment with Motion Blur, Gradient Maps, and Bevel & Emboss to achieve different types of metal textures (e.g., polished, brushed, or rough).
This approach keeps your work flexible, allowing for easy edits and customization.

